2024-09-25 06:00:48 +0200
Food photography is not just an art; it’s a science requiring attention to detail, a sense of style, and specific technical skills. For anyone looking to make their dishes stars on social media or in a cookbook, understanding the fundamental principles of food photography is essential. In this article, we’ll explore how to prepare dishes properly, choose shooting techniques, and illuminate your photographs so that they look appetizing and attractive.
Food photography grabs attention not only for the aesthetic presentation of dishes but also for the way they are served and lit. It is essential to consider both the visual and textural elements to convey the hidden qualities of each dish.
1. Proper Lighting
Lighting is a key element in food photography. Natural light is often the most desired choice, as it brings out textures and colors. Your goal is to find the right angle where the light is soft and even. If you lack natural light, it’s advisable to use artificial lighting. Softboxes or reflectors can be employed to soften the shadows.
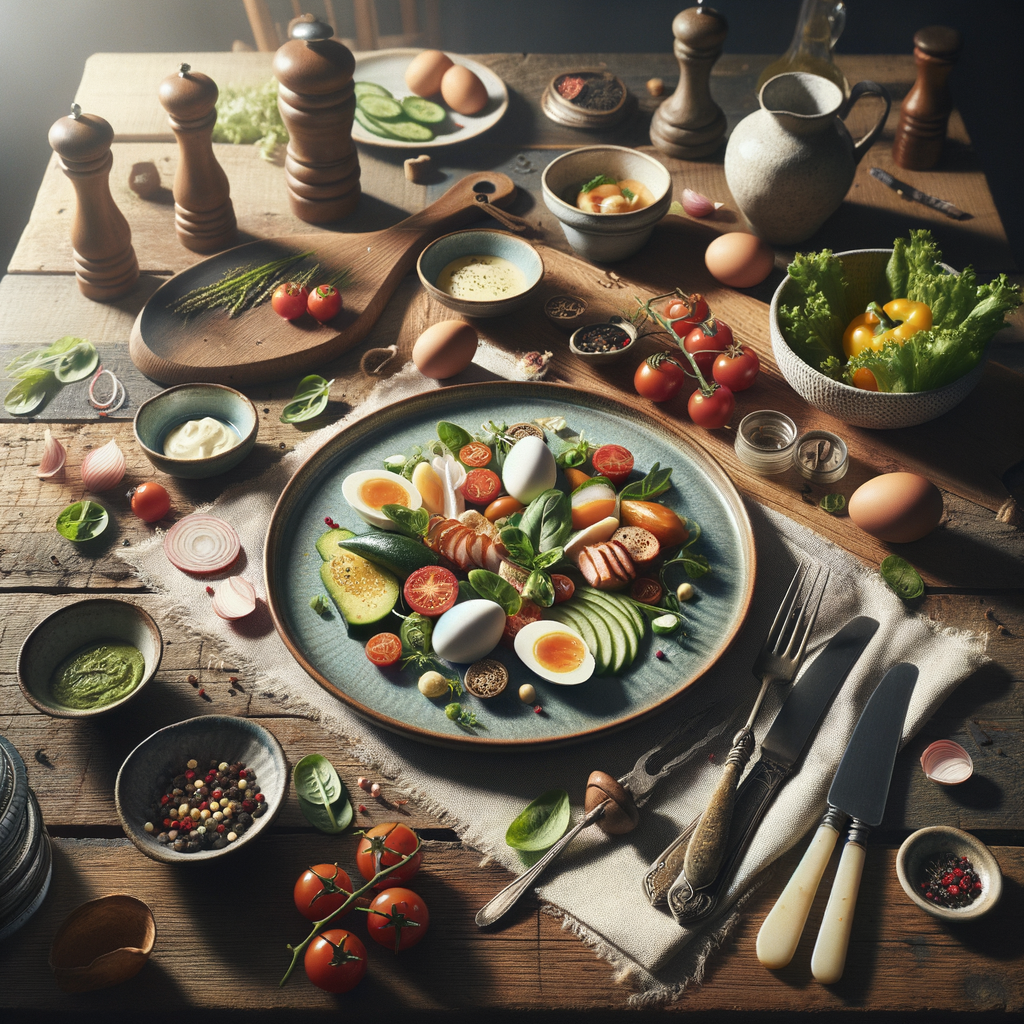
2. Choose the Background
The background can make or break your image. A clean and neutral background will allow your dishes to speak for themselves. Consider how the texture of the background can complement or contrast with the dish. Wooden tables, marble surfaces, and plain fabrics are great options for creating interesting compositions.
3. Dish Styling
When styling the dish, nothing should clash with the overall style. Use suitable plates and cutlery to highlight the dish as much as possible. Incorporate small elements like herbs or spices to create vibrant accents and add depth to the image. Try to avoid cluttering the table – sometimes less is more.
4. Composition of the Frame
Composition is how elements are arranged within the frame. The rule of thirds is an excellent technique that will help you position the main object of the image (the dish) in strategically important points of the frame. Do not be afraid to experiment with different angles of shooting – sometimes the most unexpected angles can lead to the most appealing images.
5. Shooting from Different Angles
Try various angles: from above, from the side, and at an angle, to determine how your dish looks best. An angled perspective often highlights texture and important details. Complex dishes with multiple components are best photographed at a 45-degree angle to allow viewers to see all the ingredients.
6. Using Equipment
You can photograph food with both a professional camera and a mobile phone. The main thing is to know your ally. Make sure you have the necessary accessories: a tripod for stability, reflectors for light control, etc. Strive to use a larger aperture to create a bokeh effect that highlights your dish against the background.
7. Post-Processing Photos
Post-processing is an integral part of food photography. With software such as Lightroom or Photoshop, you can adjust exposure, contrast, and color balance. It is important here not to overexpose the image and keep it natural. Composition of filters can also add an interesting effect if used moderately.
8. Inspiration and Practice
Inspiration can be found everywhere – in cookbooks, on Instagram, or Pinterest. Study the works of other photographers and try to emulate their styles to develop your skills. Practice is key to success. The more you shoot, the better you will understand what works and what doesn’t.
Thus, food photography is not just technical skills but a creative process as well. Use these recommendations and you will be able to create truly captivating and appetizing photographs that will make people fall in love with your dishes at first sight.