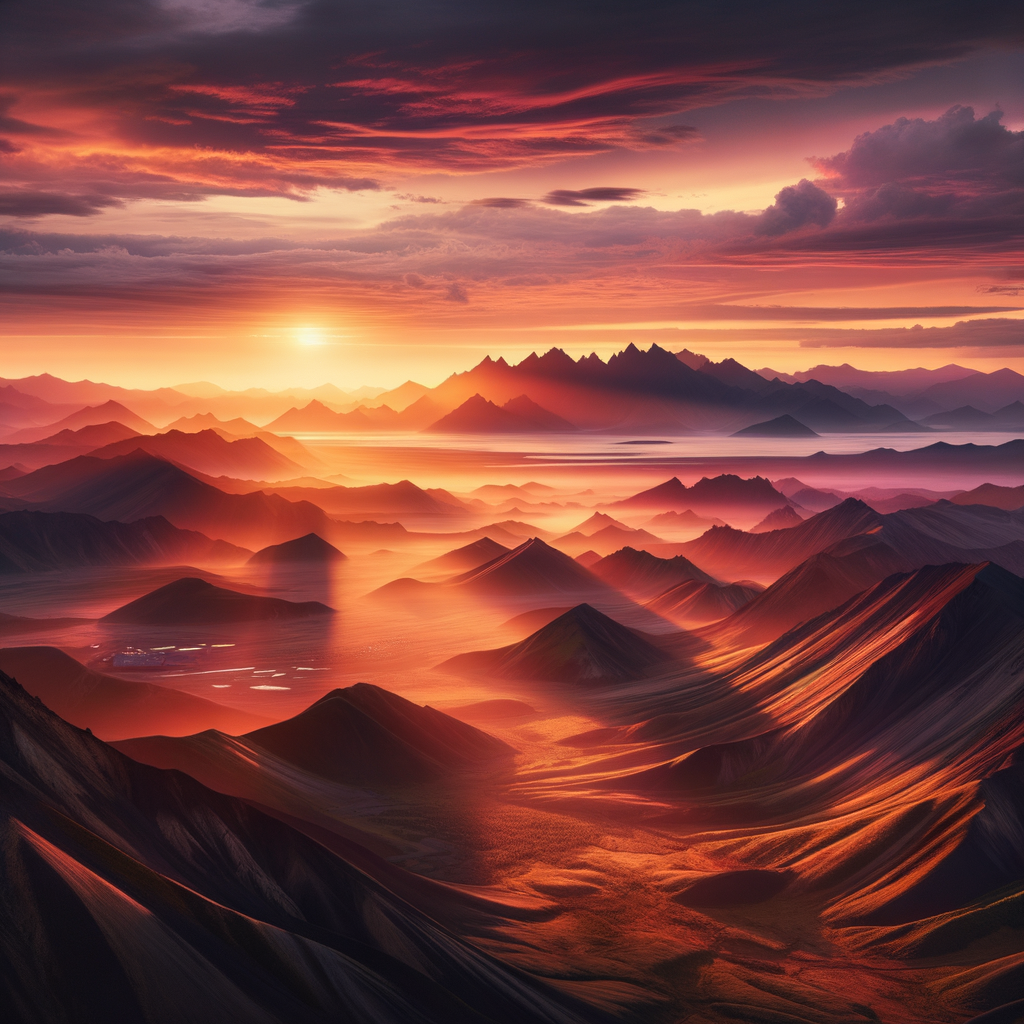
Panoramic photography is a unique genre that allows capturing wide vistas and intricate details simultaneously. If you have ever admired stunning panoramas that encompass majestic landscapes or bustling urban scenes, you might want to try your hand at creating such shots yourself. In this article, we will discuss how to create stunning panoramic photographs, starting from the basics and leading to advanced techniques.
The first step in creating stunning panoramic photographs is to understand the basics. Panoramas generally involve multiple images that can be stitched together into a whole using image editing software. However, before diving in, it is crucial to consider several key aspects.
1. Choosing Equipment
To create panoramic photographs, you need to select the right equipment. Most modern digital SLRs and mirrorless cameras can handle this task quite well. It’s also advisable to use a tripod to prevent shifting between frames. If you have a panoramic tripod head, it simplifies the process even more, as it allows for precise camera alignment for each shot.
2. Camera Settings
Before you start shooting, make sure to set all the camera’s settings. It’s best to use manual mode to avoid exposure changes between frames. Set the same ISO, aperture, and shutter speed values for all shots. Additionally, focusing on infinity is recommended if you are shooting landscapes.
3. Shooting the Panorama
When capturing a panorama, it’s important to follow certain rules to avoid distortions and gaps between images. Begin by selecting a point to shoot from, gradually rotating the camera from side to side, overlapping about 30% of each shot with the next one. This will help the software better process the images when stitching them.
4. Using Software
Once you have taken your shots, it’s time to combine the photographs into a panorama. Numerous programs offer this function, such as Adobe Lightroom, Adobe Photoshop, PTGui, and more. Choose one that suits you best and start uploading your images. The programs will automatically stitch your frames together and also allow you to adjust colors and contrast.
5. Post-Processing
After the panorama is ready, it’s essential to perform post-processing on the shot. At this stage, you can adjust color characteristics, remove unwanted objects, apply filters, and make other changes to make your photograph more expressive.
When you master these basics, you can move on to more complex techniques of exploring panoramic photography. For instance, you can create panoramas using drones, craft 360-degree scenes, or experiment with multi-layered images.
6. Urban Panoramas
Urban panoramas offer unique challenges and opportunities. Shoot early in the morning or late in the evening when the lighting is softer and the streets are less crowded. Look for interesting corners that might add depth to your photograph. High-rise buildings and atmospheric gradients not only add interest but also create a sense of scale.
7. Conclusion
Creating panoramic photographs is an art accessible to anyone who wants to capture the beauty of the surrounding world. With practice and an understanding of theoretical fundamentals, you can create stunning shots that will inspire you and others.


