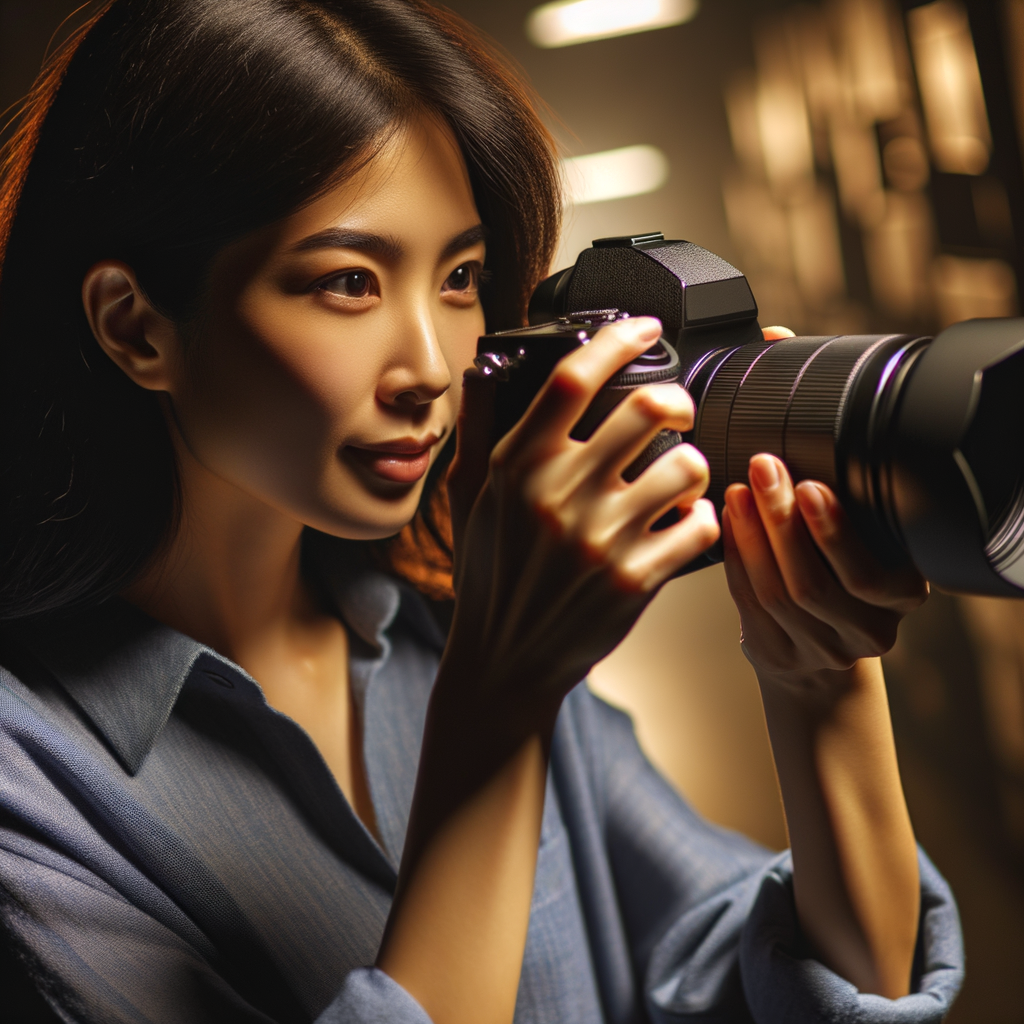
Photography in low light conditions can be a real challenge for many photographers, especially beginners. However, with the right tips and techniques, you can create stunning images even in the most difficult conditions. In this article, we will explore the key aspects of shooting in low light, from choosing equipment to camera settings and processing finished images.
The first step to successful shooting in low light conditions is choosing the right equipment.
1. Choosing a Lens
Lenses with a large aperture, such as f/1.4 or f/1.8, allow more light to enter and are best for shooting in darkness. Pay attention to prime lenses, which typically have better light-gathering capabilities compared to zoom lenses.
2. Using a Tripod
A tripod is your best friend when shooting in low light conditions. It helps prevent blurry images and stabilizes the camera. If you don’t have a tripod, you can use other sturdy surfaces for support.
3. Camera Settings
When shooting in dark conditions, it’s essential to understand how to set up your camera correctly. Increasing the ISO and opening the aperture will help you capture more light. However, remember that increasing ISO can lead to noise, so try to use it sparingly.
4. Post-Processing
After shooting, don't forget about post-processing. Use photo editing software to reduce noise, enhance contrast and brightness, and tweak colors as needed.
5. Practice and Experimentation
As in any other area of photography, practice makes perfect. Don’t be afraid to experiment with settings, lighting, and various compositional elements. Take many photos and analyze them to better understand what works in low visibility conditions.
In conclusion, photography in low light conditions requires attention to detail and a creative approach. With these tips and techniques, you will be able to create unique and memorable images, regardless of the lighting situation.


