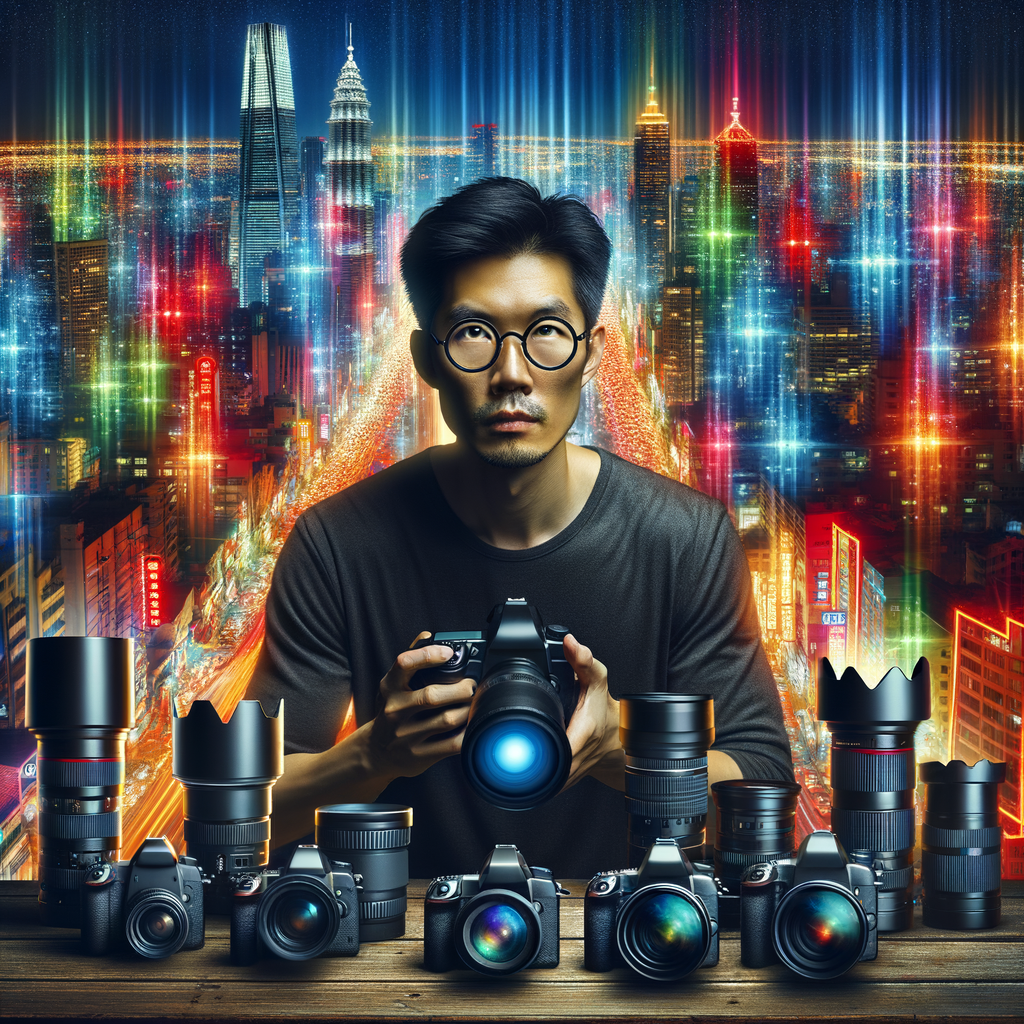
Shooting in low light conditions can be a challenging task, but with the right knowledge and techniques, you can create stunning images even in the darkest environments. In this article, we will explore a variety of tips and tricks that will assist you in low light photography. You will not only improve your skills but also learn how to maximize your equipment’s potential for the best results.
1. Understanding Light
The first aspect to consider in low light photography is understanding the characteristics of light. A low light environment means you will need to utilize your camera more effectively. Try using different light sources such as street lamps, neon signs, or the light from windows. Understanding the direction and quality of light will help you create more expressive shots.
2. Use of a Tripod
A tripod is one of the essential tools for shooting in low light conditions. It helps avoid blurry images caused by shaky hands and ensures frame stability. Additionally, using a tripod allows you to work with longer shutter speeds, capturing moments that are unseen by the naked eye.
3. Camera Settings
When working in low light conditions, it is important to properly set up your camera. Increasing the ISO can help you gather more light, but be cautious as too high a value can lead to increased noise in the image. Setting the aperture to its widest value will also help let in more light. Using a slow shutter speed in combination with a tripod can significantly enhance the quality of your shot.
4. Lenses and Their Features
The choice of lens also plays a crucial role in low light photography. Lenses with wide apertures (like f/1.8 or f/2.8) allow for better image quality in low light situations. If possible, consider using prime lenses, which usually have better optical characteristics.
5. Choosing the Right Location
When planning a shoot in low light, pay attention to your choice of location. Places with various light sources, such as moving cars, craft shops, cozy cafes, or bright signboards, will make your shots more interesting and captivating. Don't hesitate to experiment with different locations and times of day.
6. Creative Use of Light and Shadows
One of the more exciting aspects of low lighting is the opportunity to play with light and shadows. Use the contrast between light and dark areas of your photographs to create atmospheric and dramatic images. Shadows can add depth and texture to your frame, making it more expressive.
7. Image Editing
Don't forget about post-processing your images. Using photo editing software, you can enhance brightness, contrast, and color palette in your shots. Noise reduction can also significantly improve image quality, especially if you used a high ISO setting.
8. Practice and Experimentation
Finally, the most important tip is practice. The more you experiment and practice, the better your skills and results will become. Don’t be afraid to try new approaches and techniques, play around with different settings and see what your camera is capable of in low light conditions.
By following these tips, you'll be able to significantly improve your photos under low light conditions. Starting with the basics and gradually progressing to more complex techniques, you will be well on your way to creating impressive images that tell their own story. Good luck with your photography adventures!


